
Discord на Mac
Skype, Raid Call, Team Speak и т.д. — все эти программы позволяют пользователям общаться между собой посредством аудио и видеосвязи. Каждая из них обладает собственными достоинствами и недостатками. Относительно недавно появилось новое приложение, которое отличается от всех вышеперечисленных. Речь идет о Discord. Он работает быстро, не занимает много места на жестком диске и нетребователен к характеристикам ПК. Скачать Дискорд на Мак очень просто.
Установка Discord на Mac OS
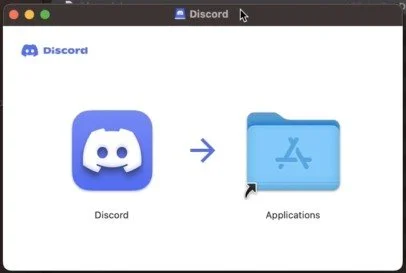
Первым делом зайдите на сайт https://discordapp.com/. Теперь кликните на «Загрузить для OS X».Далее, перейдите в раздел закачек на компьютере. Нажмите ЛКМ на полученный файл Discord.dmg. Дождитесь его открытия. Остается только перетащить иконку программы в область Application.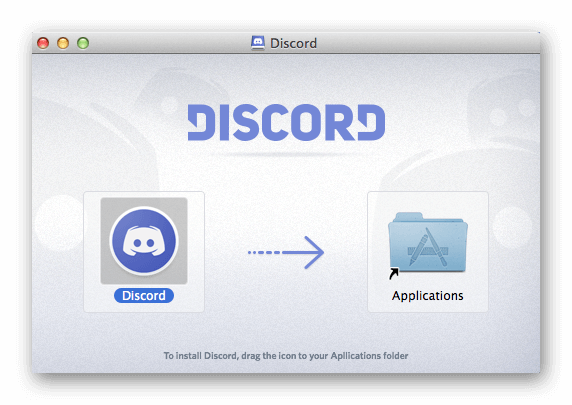 Собственно говоря, на этом с установкой покончено. Рассмотрим процедуру первого запуска.
Первый запуск
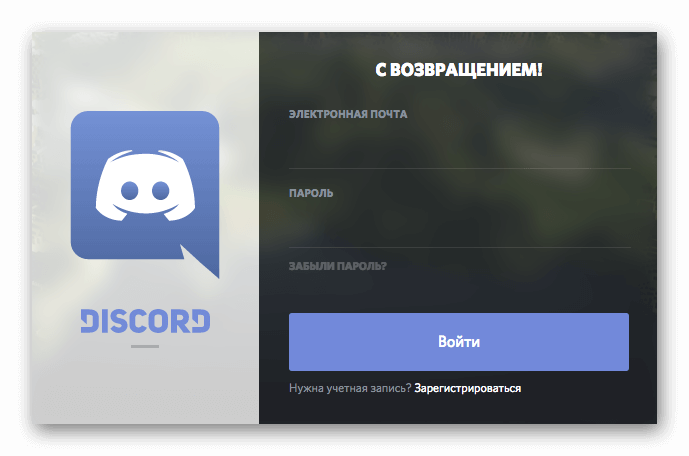
Вызовите меню всех программ на компьютере и кликните по иконке Discord. Появится системное уведомление о том, что программа может быть небезопасной, поскольку установлена не из официального магазина App Store. Игнорируйте его и нажмите «Открыть». Discord проверит обновления, а потом откроется. Вам остается просто войти в свой аккаунт или завести новый.
Virtual Cam working on Discord with Mac OS 14 Sonoma
Hey everyone. The virtual Webcam was working great in Discord until I updated to the new Mac OS 14 Sonoma. Any ideas on getting that fixed?
infoXczar
New Member
Have you tried the two Terminal commands over here yet?
ultrametrics
New Member
Have you tried the two Terminal commands over here yet?
I used to do this, but on Sonoma 14.1 it suddenly stopped working. No errors, but after running the lines (and restarting Discord, also tried restarting the system) the OBS Virtual Cam still does not show up in the list of cameras on Discord.
Anyone else faces this issues ince Sonoma? Any fixes?
ultrametrics
New Member
Hey everyone. The virtual Webcam was working great in Discord until I updated to the new Mac OS 14 Sonoma. Any ideas on getting that fixed?
«You need to wait until OBS Studio 30 is released. The old virtual camera is no longer compatible with macOS as of Sonoma.
You can try the OBS Studio 30 release candidates at https://obsproject.com/forum/threads/obs-studio-30-rc.168984/»
Tried it, and it worked for me. However, OBS wants to use system extensions (?) or something, so you have to allow that under Security and Privacy (I had to, at least). After that, Discord showed me the Virtual Camera again.
Discord для MAC

Discord (Дискорд) – программное обеспечение, работающее по технологии VoIP, предназначенное для голосового общения в режиме реального времени. В первую очередь программа разрабатывалась для координации действий игроков в играх с поддержкой мультиплеера. Discord отличается малым потреблением системных ресурсов компьютера, что особенно важно для параллельной работы с «тяжелыми» играми в системах, отвечающих минимальным требованиям игры.
Похожие программы
How To Setup & Optimize Discord on Mac OS
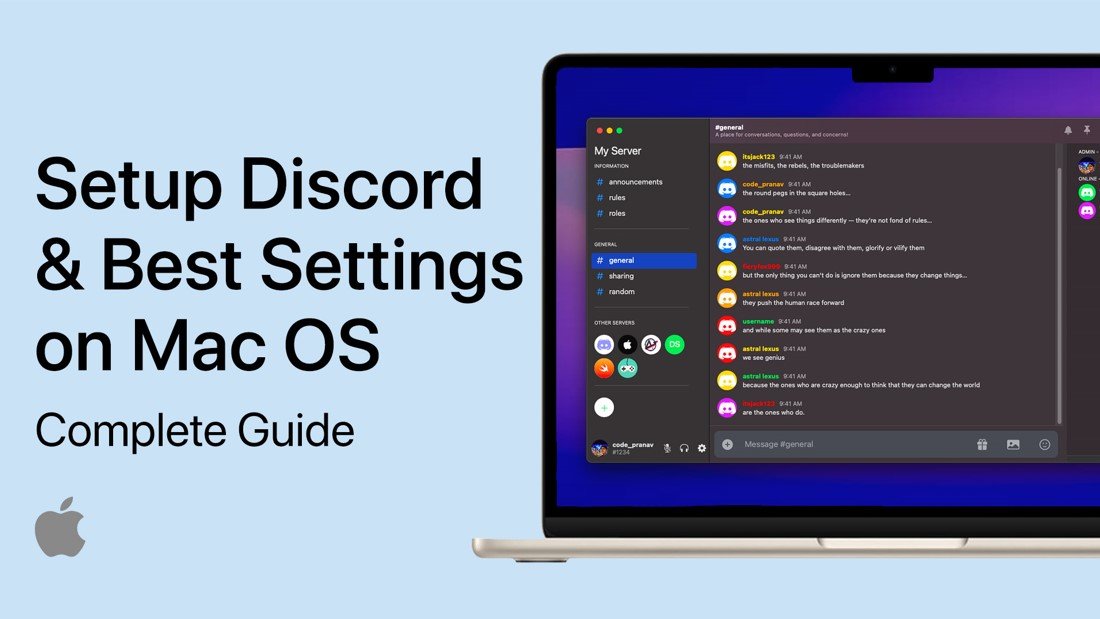
Discord is a popular communication platform that has become a go-to solution for millions of gamers, software developers, and tech enthusiasts. With its advanced features and seamless integration with Mac OS, Discord has cemented its place as the leading voice and text chat app for the modern digital age. However, setting up and optimizing Discord on Mac OS can be a daunting task for first-time users. This comprehensive guide will walk you through the entire setup process and offer tips to enhance your Discord experience on Mac OS.
Download Discord for Mac OS
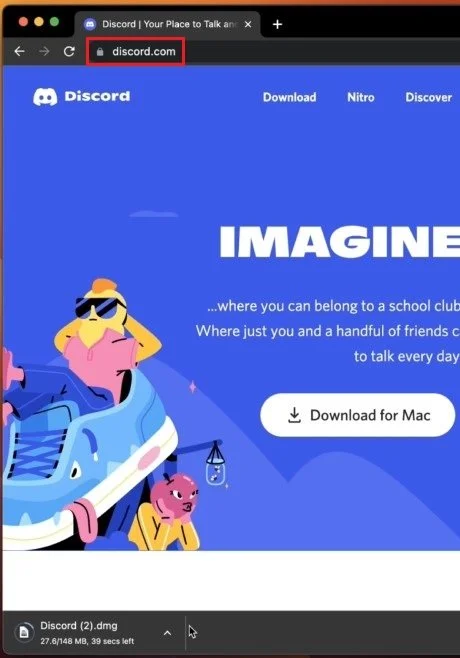
First, to download and install Discord to your system, visit discord.com using your favorite browser. You’re not required to log in with your account yet. Select download the Discord installer for Mac when clicking on Download for Mac. It will take a minute or two to download the 150MB installer to your system. Your browser can also help you find your downloaded files.
Install Discord for Mac OS
On Chrome, click on the arrow icon next to the download and select Show in Finder. Double-click the downloaded .dmg file in your downloads folder. Next, drag and drop the Discord app into your applications folder to complete the installation.
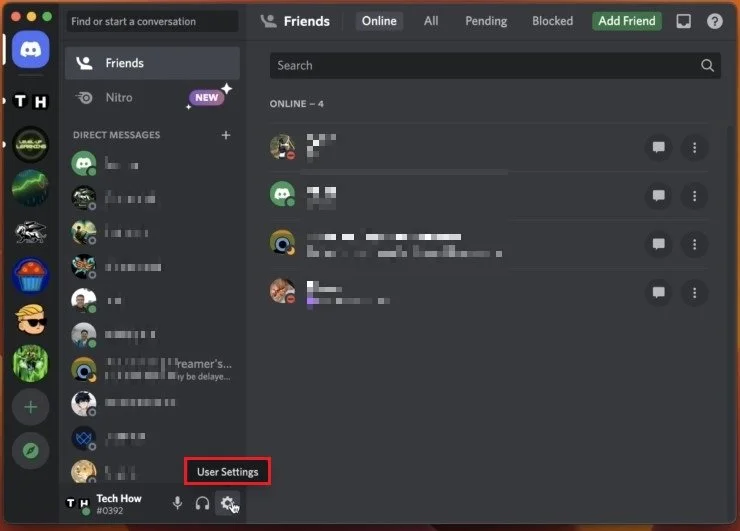
Discord User Settings
After installing Discord, launch the application and log into your account or create a new account if you don’t already have one. In some cases, you will be required to enter the two-factor authentication code or scan the QR code to get access to your account. When all of this is done, you should be able to use Discord on your Mac. To get the most out of Discord, I suggest taking a quick look at your user settings.
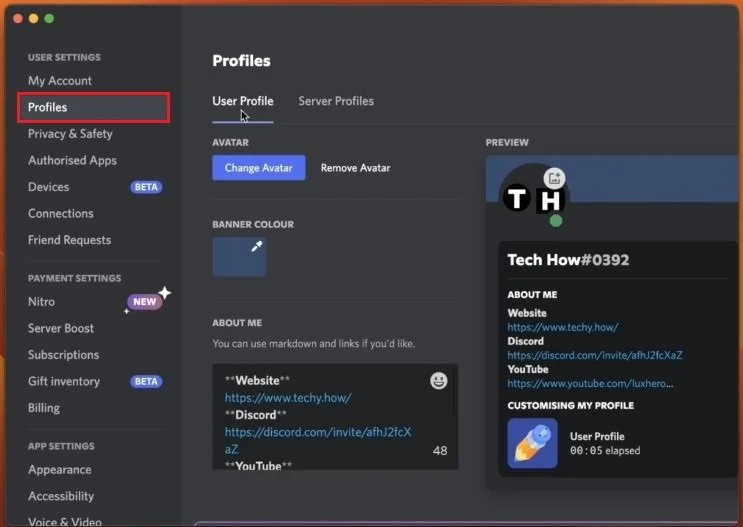
Profiles Settings
Click on the gear icon at the bottom of your screen to access your settings. In the Profiles section, you can edit your user or server profile if you have your Discord server.
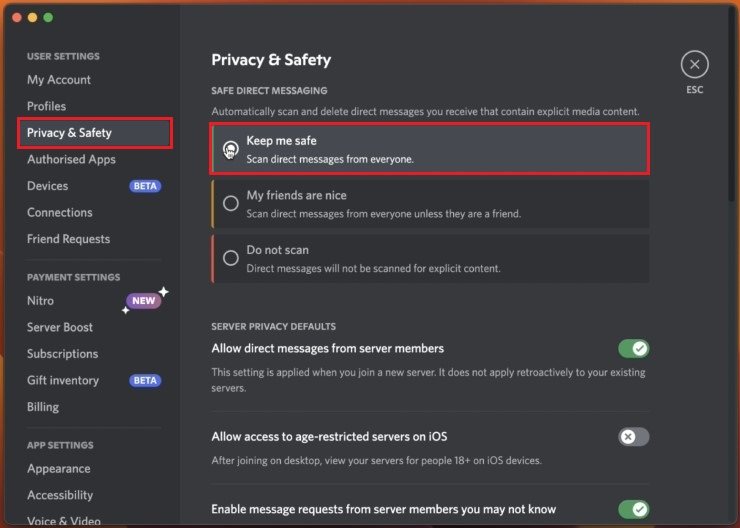
Privacy & Safety Settings
Under Privacy & Safety, ensure that the Safe Direct Messaging option is set to Keep me safe, which should be the default option. This will prevent users from sending you explicit or dangerous content.
Appearance Settings
Next, in your App Settings, you can change the Discord appearance. This includes changing from a Light to a Dark theme or improving readability by changing the font size of your chat. You might want to exit your settings to ensure that your appearance settings are set to their best values.

Voice & Video Settings
Next, in your Voice & Video settings, ensure that the correct audio input device, microphone, and output devices, such as your speakers or headphones, are selected. If you intend on using external speakers while chatting on Discord, then be aware that users might hear themselves in a voice channel.
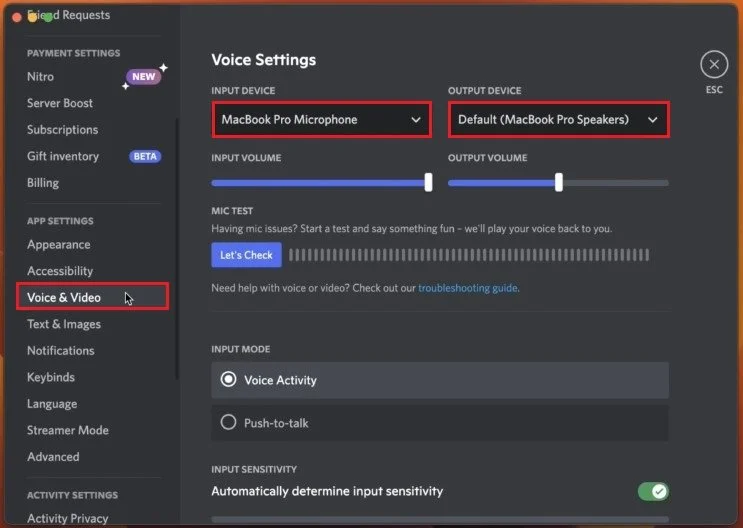
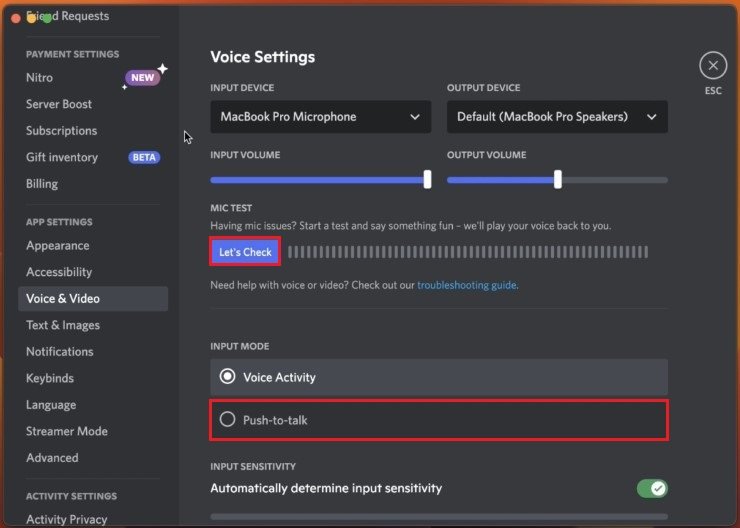
To prevent this from happening, you can use Push to Talk as your input mode instead of Voice Activity. This will improve the listening experience for other people on the call and disable background noise when you’re not talking. You can test your microphone above if you want to.
Advanced Voice Settings
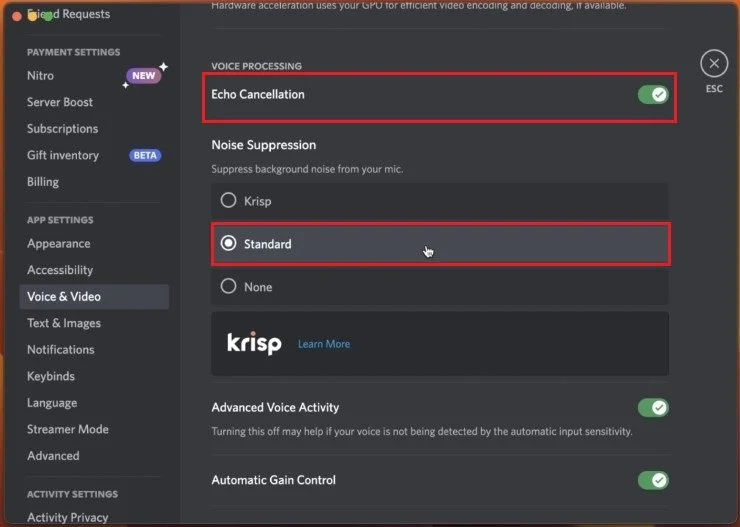
Ensure that the Echo Cancellation option is enabled in your Advanced Voice settings. Below, set the Noise Suppression option to Standard if you experience normal background noise, such as your keyboard. If you have more than the usual background noise, set this option to Krisp.
Mac OS Sound Settings
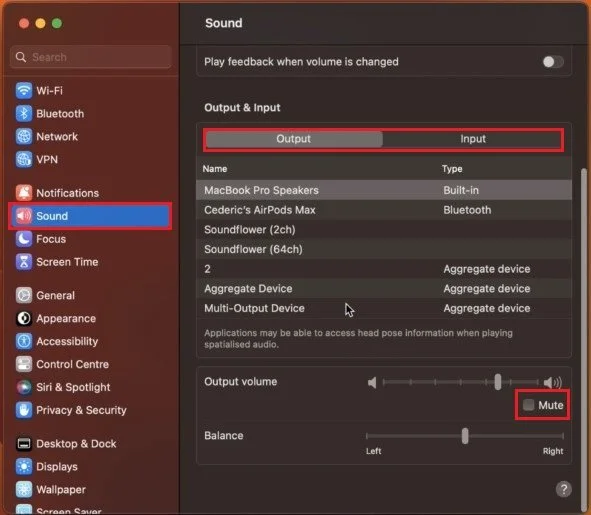
When this is done, close your Discord settings and open up your System Preferences. You can do so by clicking on the Apple icon on the top left of your screen and selecting System Preferences.
Here, click on Sound. In your sound settings, ensure that the correct sound Output and Input device are selected again. This might have changed after installing and tweaking your Discord settings. On this window, you should also ensure that your sound device is not muted by unchecking the Mute checkbox.
Mac OS Software Update
In case some of these macOS or Discord options are not available to you, then make sure that you’re running the latest software update. In your system preferences, click on Software Update. Next, download the latest update in case one is available before restarting your Mac.